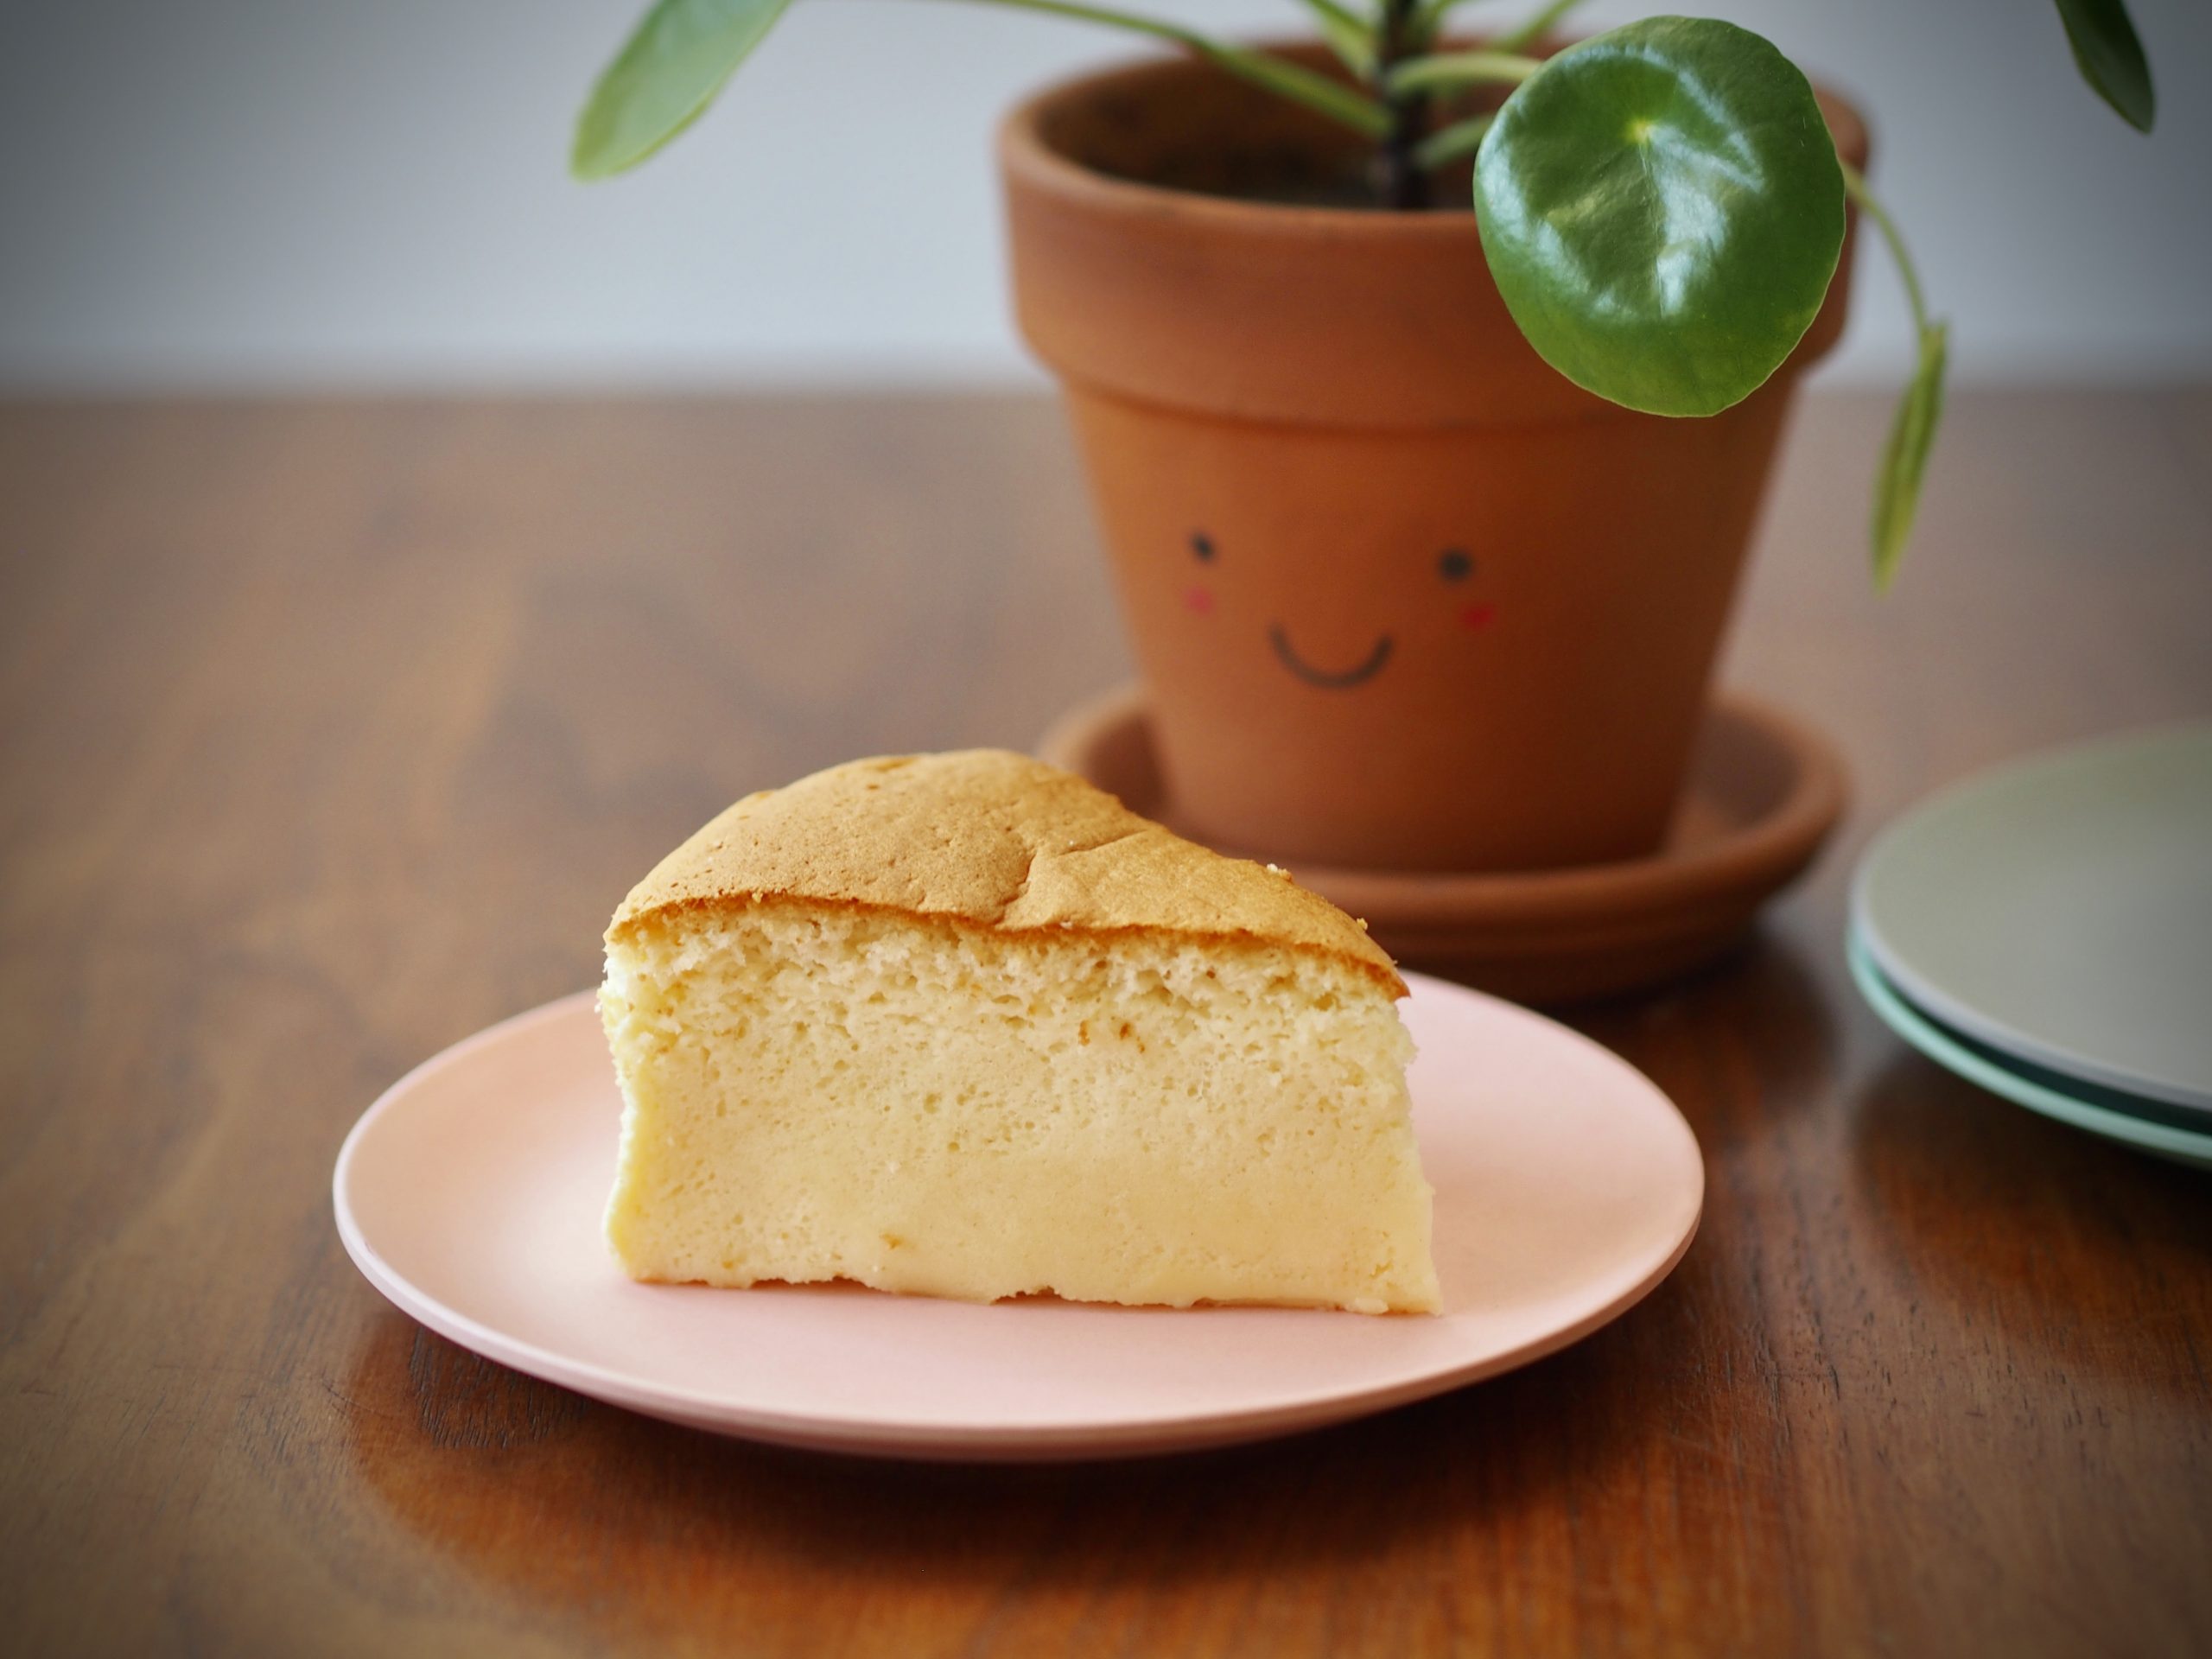
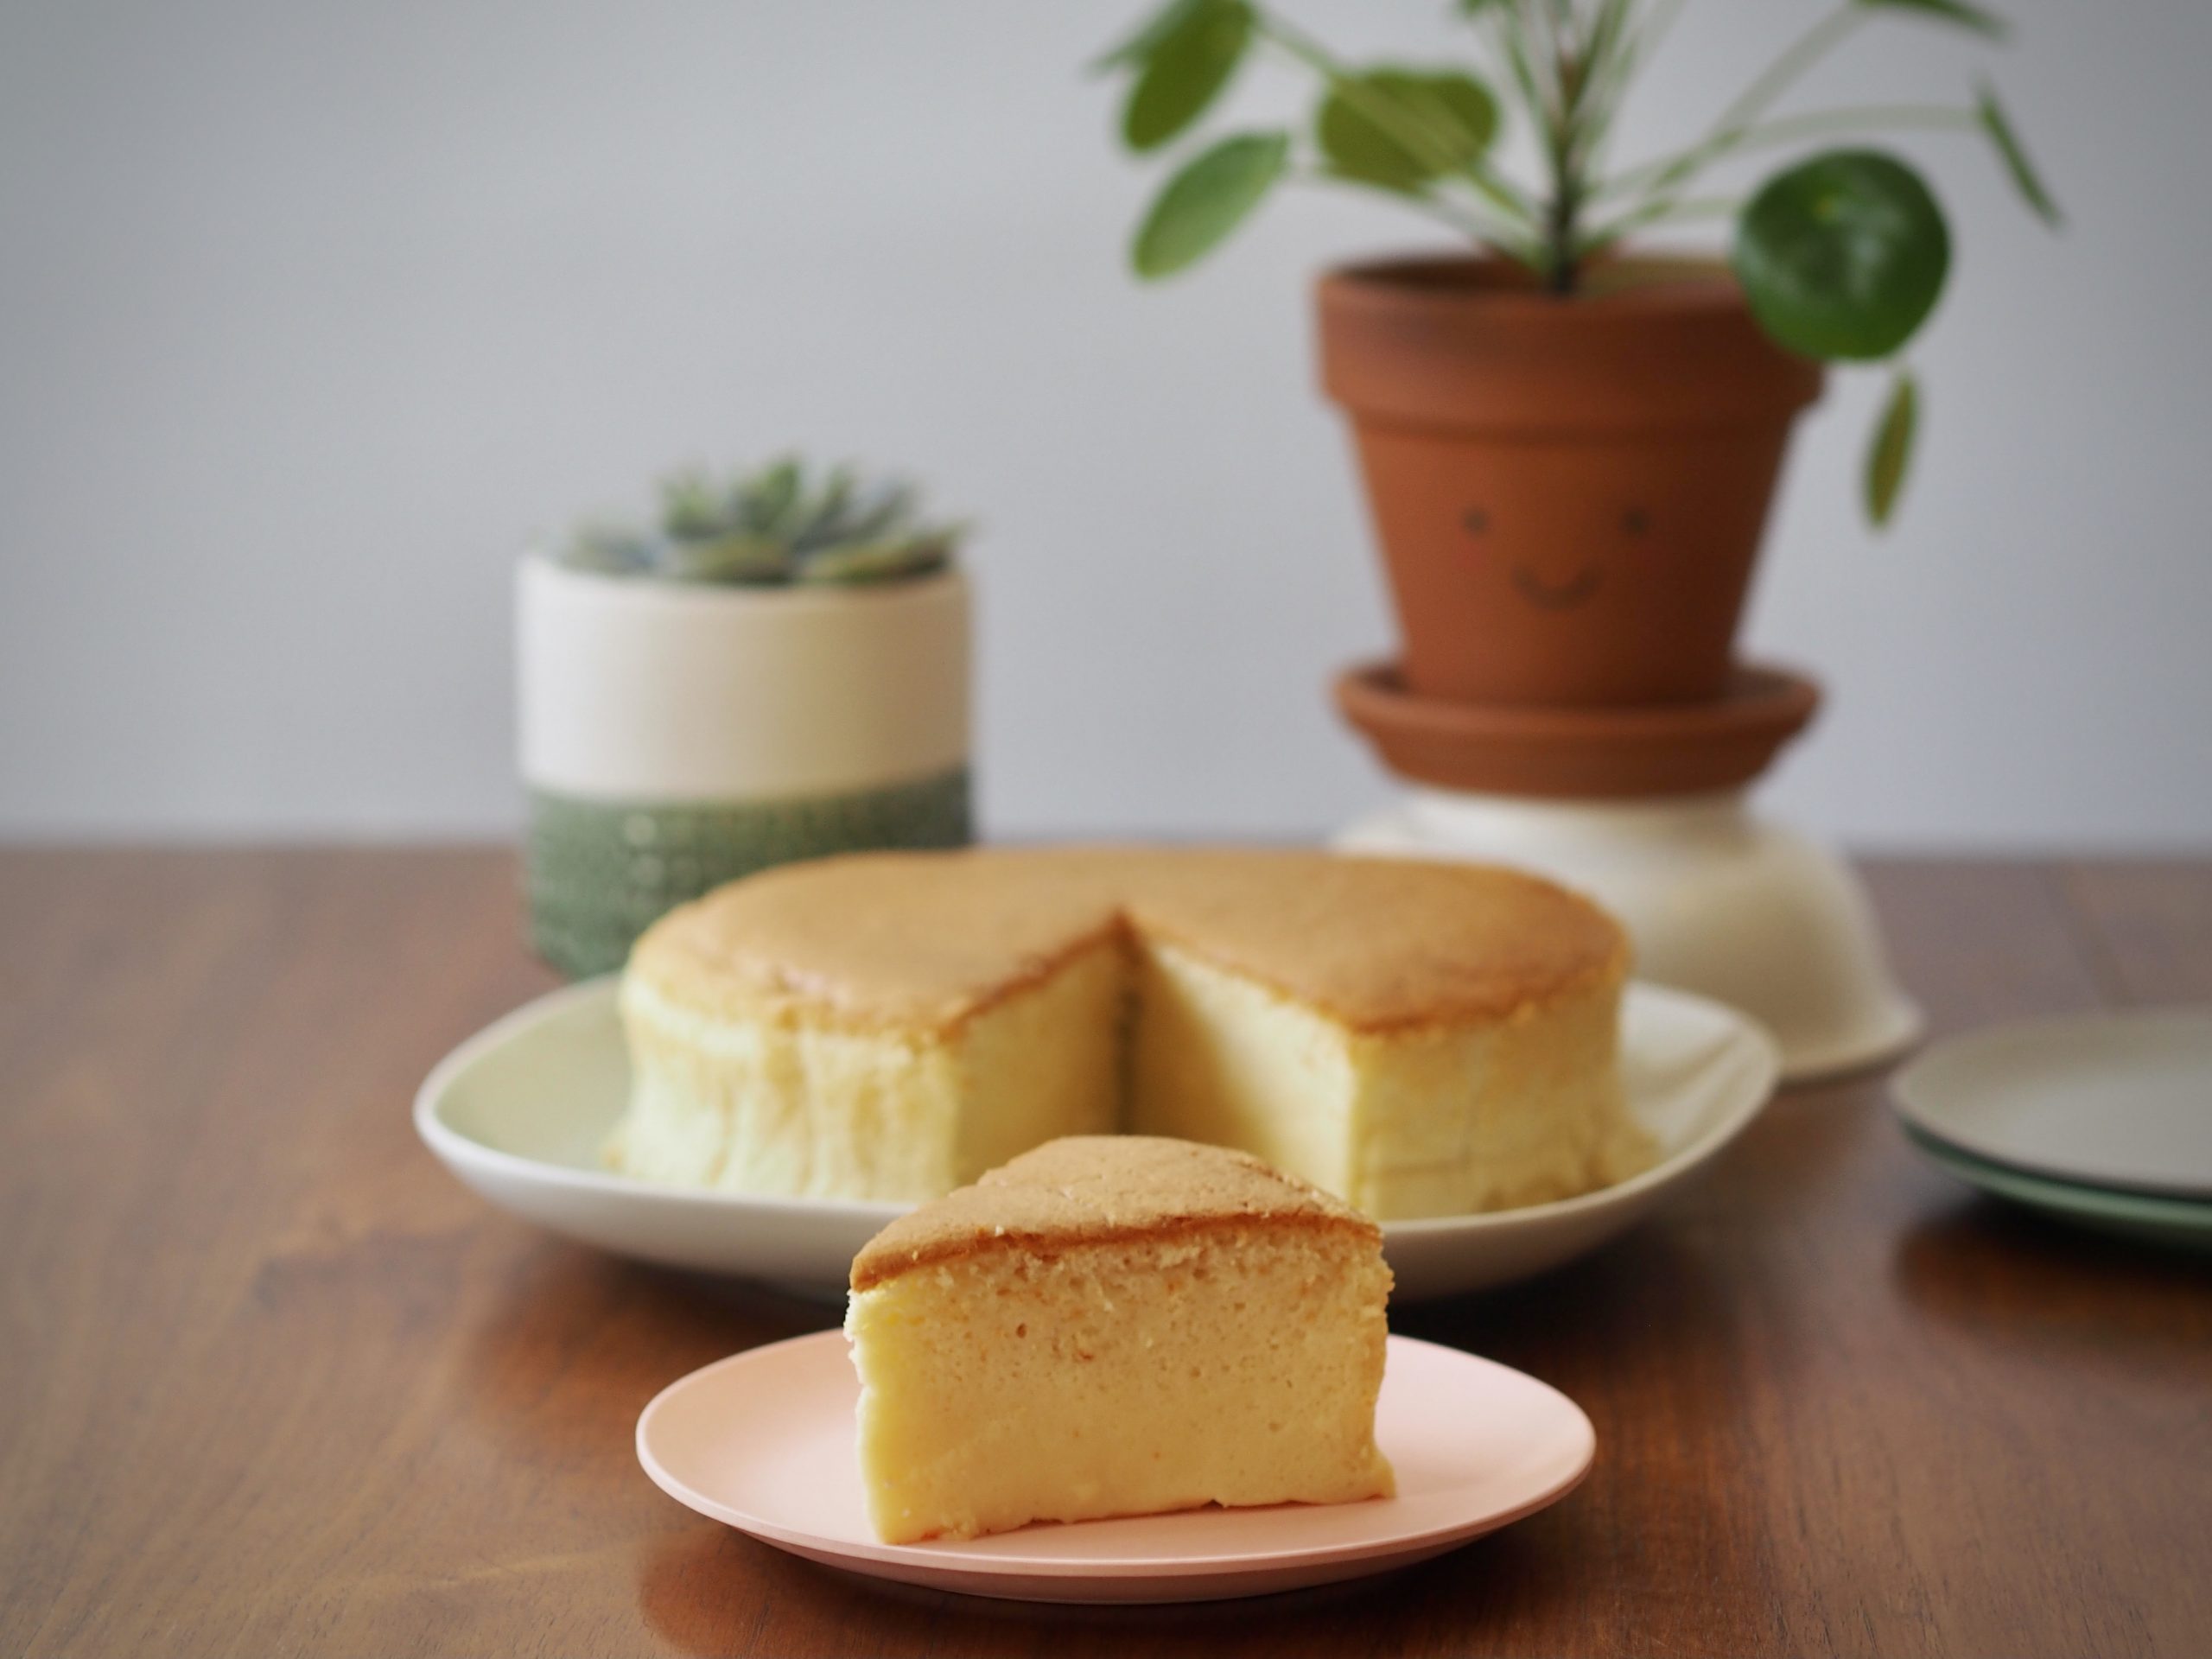
It is impossible to keep your hands off this light-as-soufflé and delicate Japanese cheesecake. It is not an easy one to make but I will walk you through it step-by-step below.
If you have been to Osaka in Japan, you probably would have come across the long queues for Rikuro’s freshly baked cheesecake. And if you had the patience to wait in the queue and indulged in them, you must have been dreaming about it for weeks and months after your vacation.
This subtle cheesecake is so light that you can polish off a large portion of it in one seating. The texture is pillow-soft, moist and delicately creamy on the tastebuds. A reflection of Japanese perfection and mastery to the craft.
Below is my best endeavour in replicating it to relieve my craving. It isn’t as gorgeous (yet) as the ones in Osaka, and I will continue to experiment. Do share if you have made any break-through.
Serves: 8
Preparation time: 25 mins
Cooking time: 80 mins
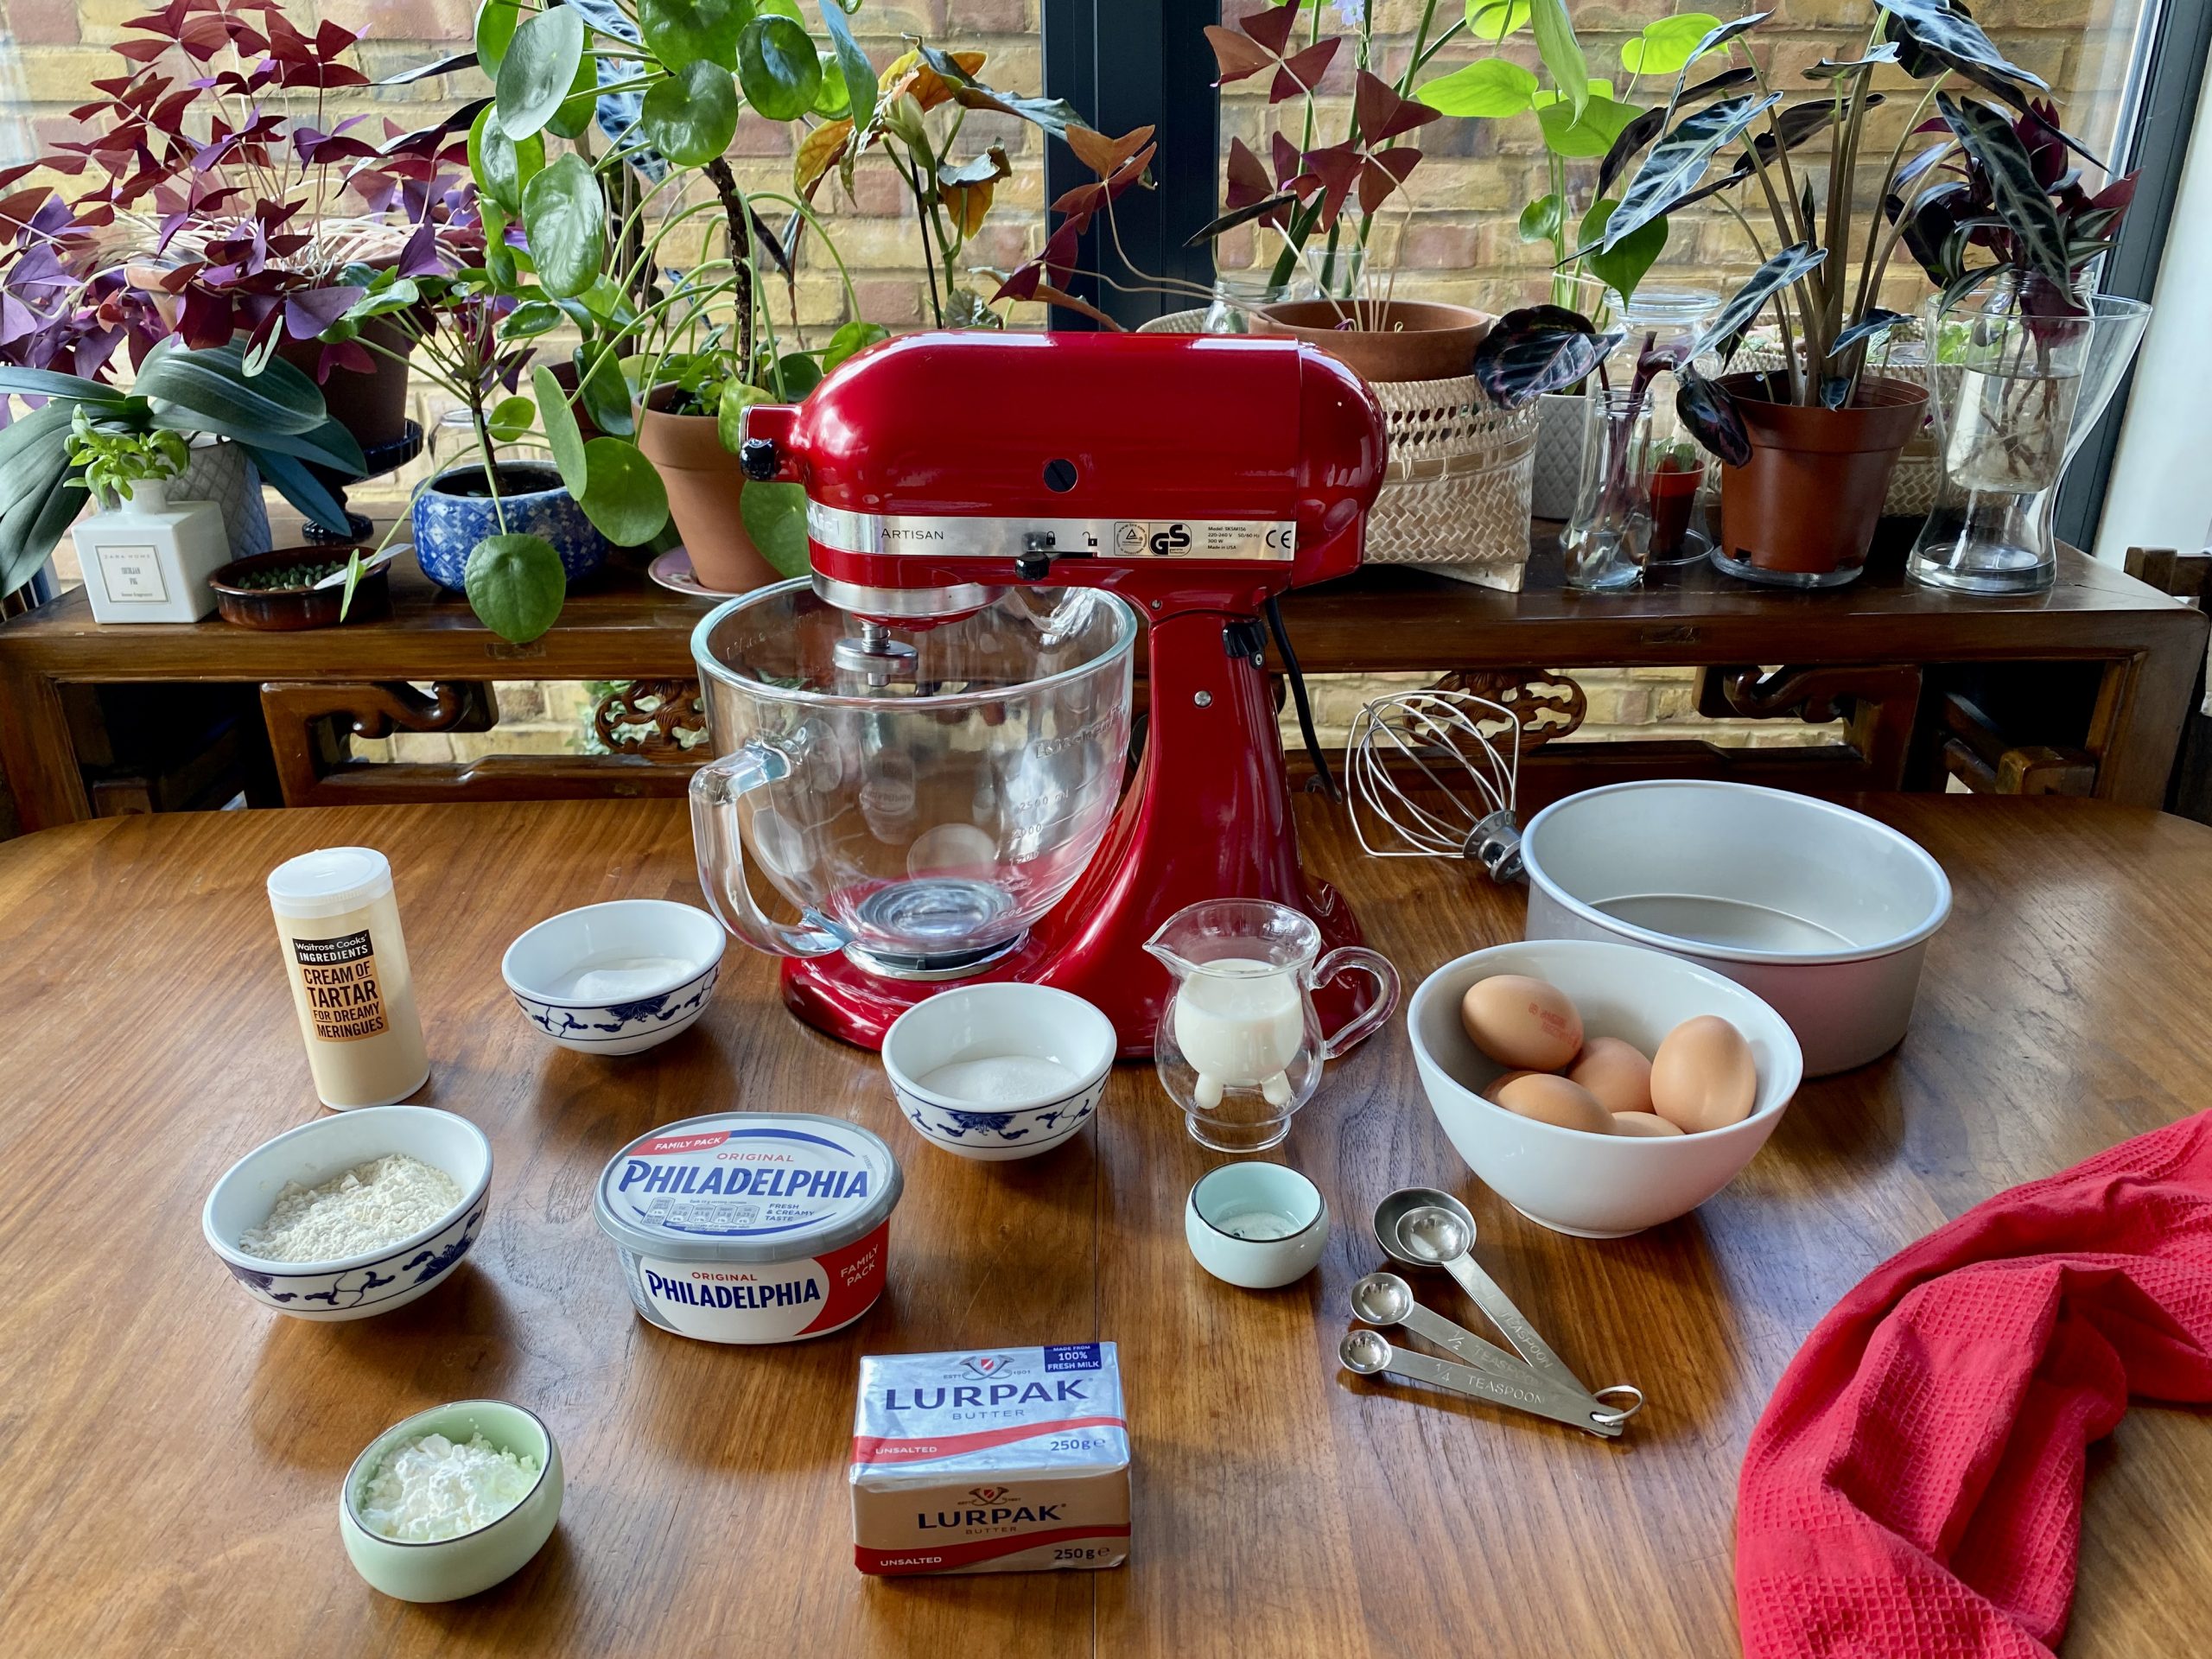
Ingredients
Main mixture:
- 255g (9 oz) cream cheese
- 6 egg yolks
- 65g (2.3 oz) caster sugar
- 60g unsalted butter
- 100ml whole milk
- 60g (2 oz) plain flour
- 20g (0.7 oz) cornflour
- 2 tbsp sun-dried raisins
Meringue mixture:
- 6 egg whites
- 1/4 tsp cream of tartar
- 65g (2.3 oz) caster sugar
- 1 1/2 tsp vanilla essence
Disclaimer: For your convenience, we have included affiliate links to items which we have found useful. We will receive a commissions from the seller if you purchase through these links.

Equipments
- Stand mixer with a whisk attachment or electric hand mixer with a beater attachment
- 203mm / 8in baking tin with 76mm / 3in height
- 254mm/ 10in baking tin with 76mm/ 3in height
- Baking paper
- Weighing scale
- Teaspoon
- Tea towel

Method
1. Remove ingredients from fridge and allow it to get to room temperature. This will help the ingredients to mix together more evenly. About 30 minutes in advance should suffice. In the mean time, you can start measuring up the quantities.
2. Separate egg yolk from egg whites. Mix the egg yolks together.

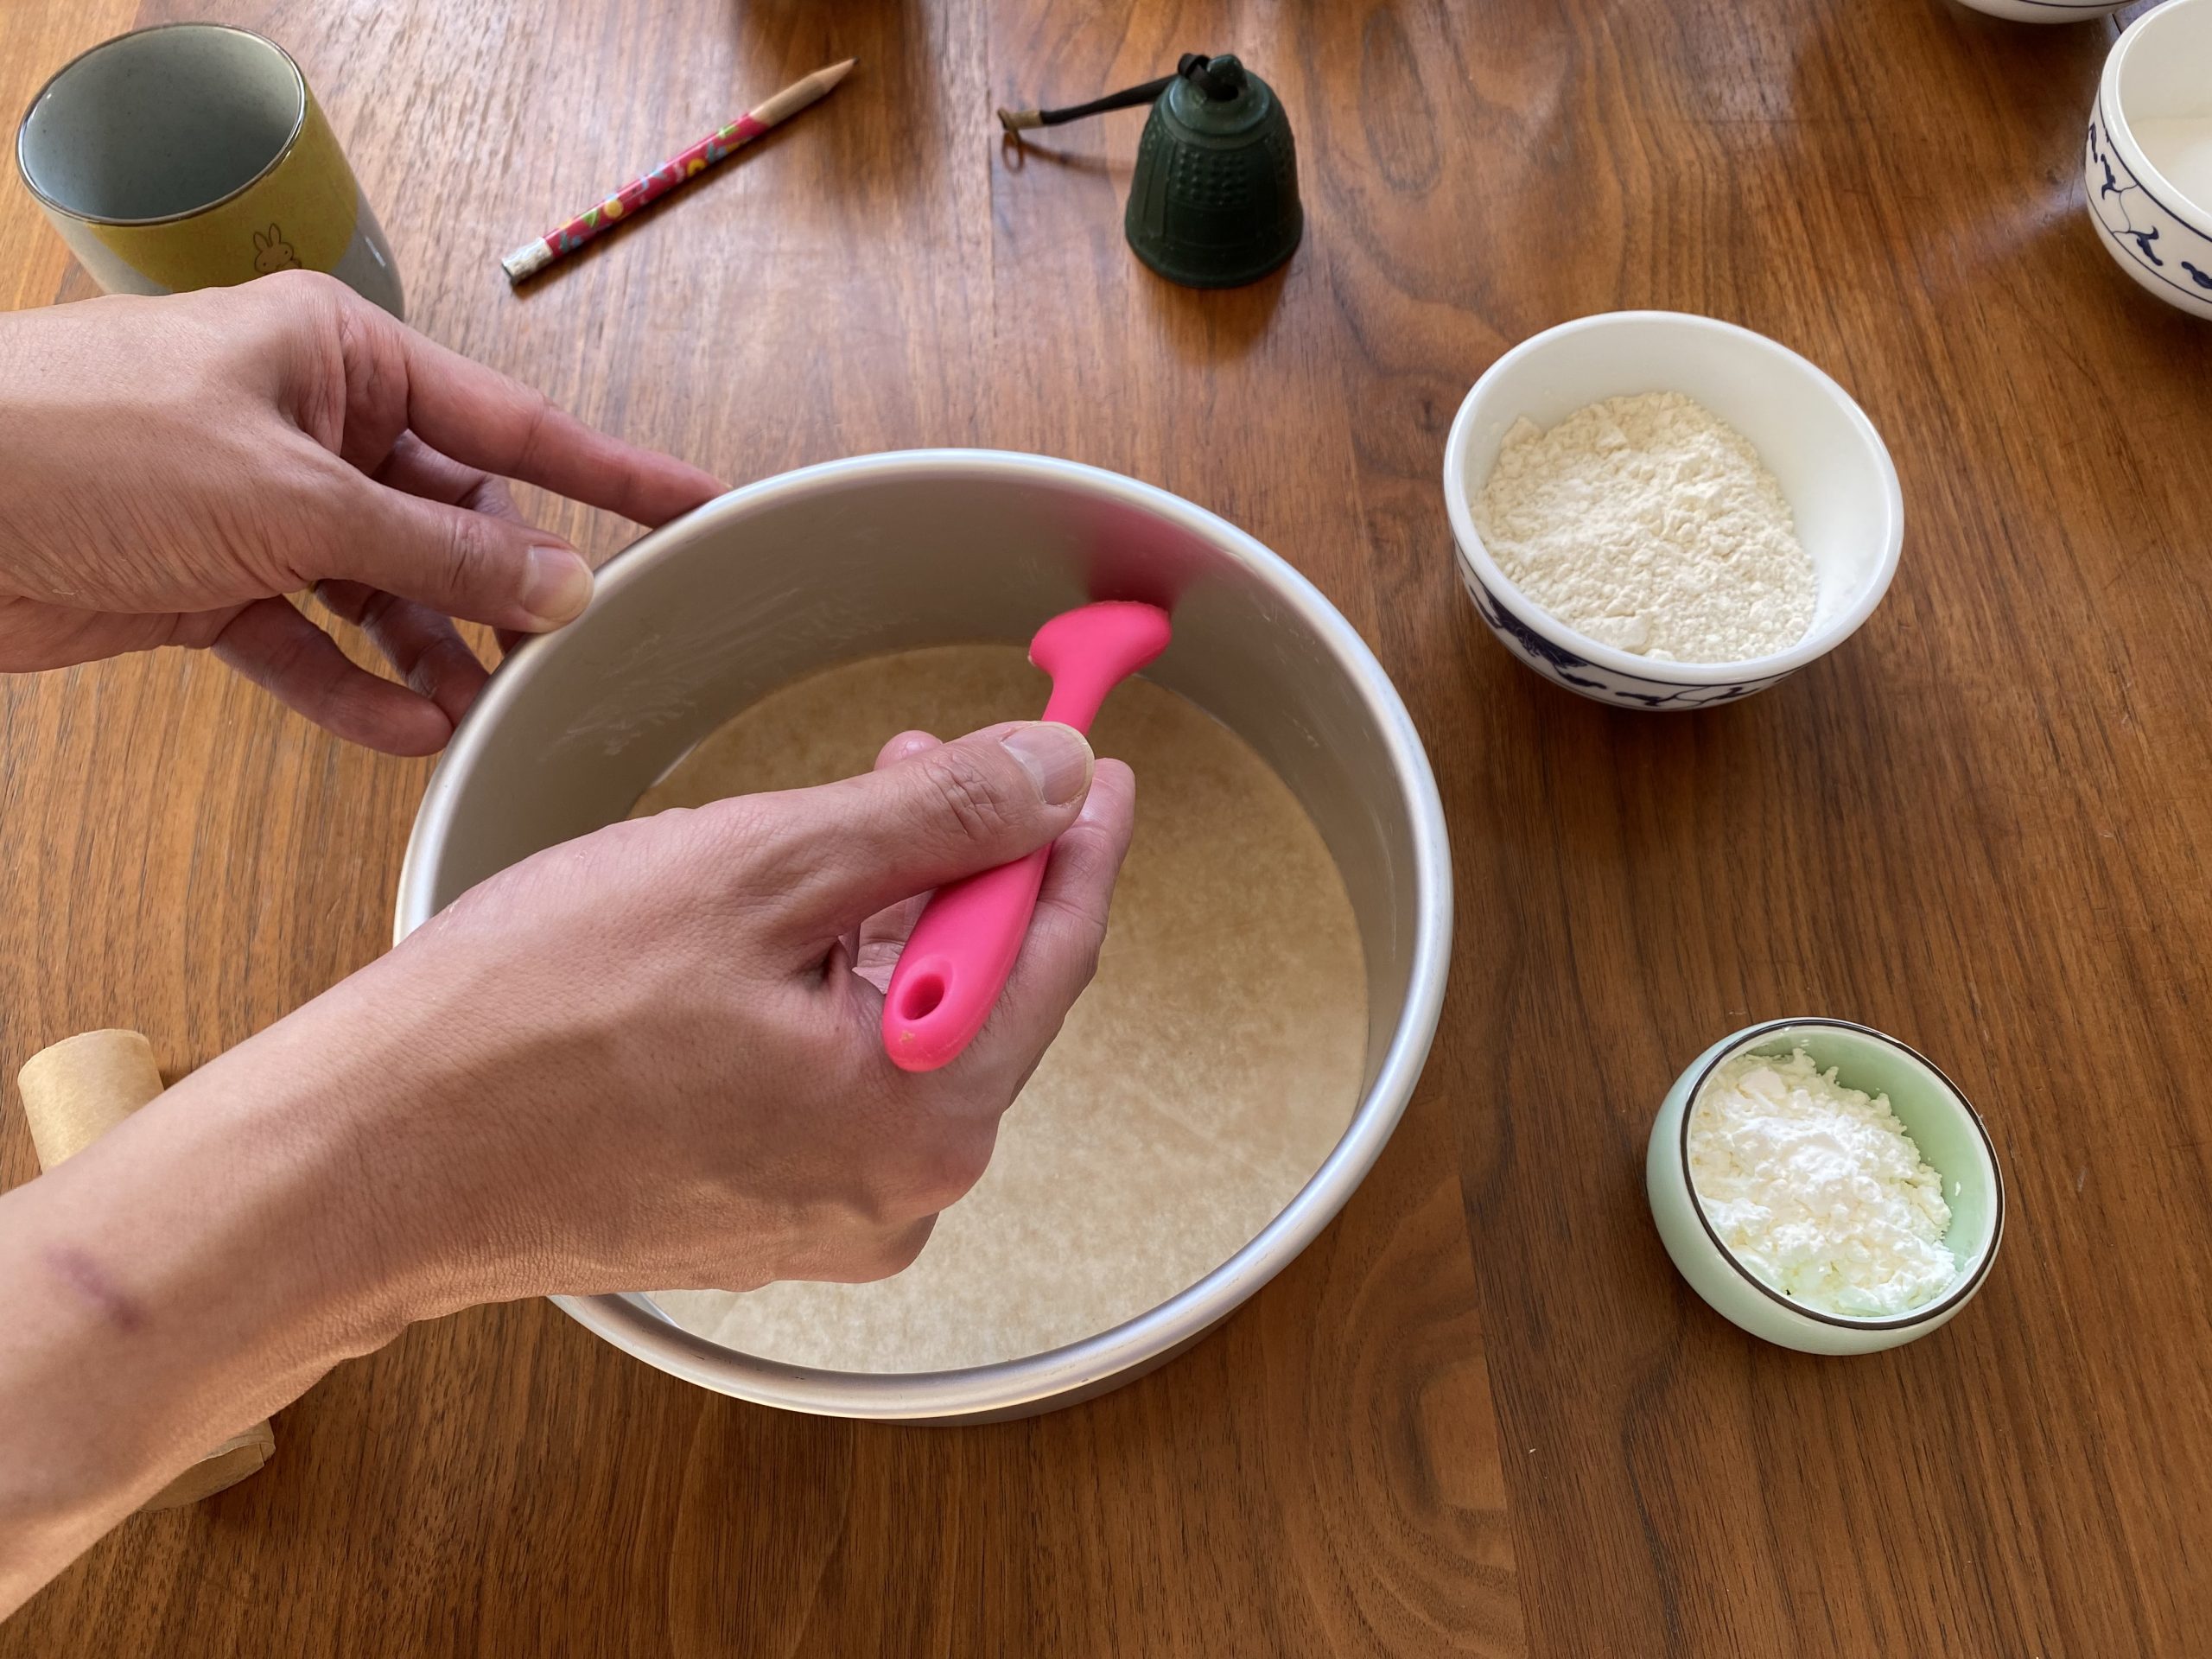
3. Line 8 x 3 inch baking tin with non-stick greaseproof baking paper. Apply butter to the tin inner surface using basting brush to help the baking paper stick to it. Sprinkle the sun-dried raisins into the prepared baking tin.

4. Put cream cheese into a mixing bowl and beat until soft using a hand whisk or hand mixer at medium speed.

5. Add butter to the cheese and continue to beat the mixture at medium speed. If the butter or cheese are too hard, mix using a spatula over a warm water bath to gently warm them.
6. Gradually add sugar while continuing to beat at medium speed. This will add lots of air to the mixture, which helps give the cake a light texture.
7. Add 1/4 of the beaten egg yolk into the creamy mixture. Mixing it in thoroughly before adding the next quarter to prevent curdling.

8. Sift the plain flour and cornflour into the mixture. Gently fold them in to keep as much air as possible. Cornflour contains lesser gluten than plain flour, another ingredient to help create a lighter cake.
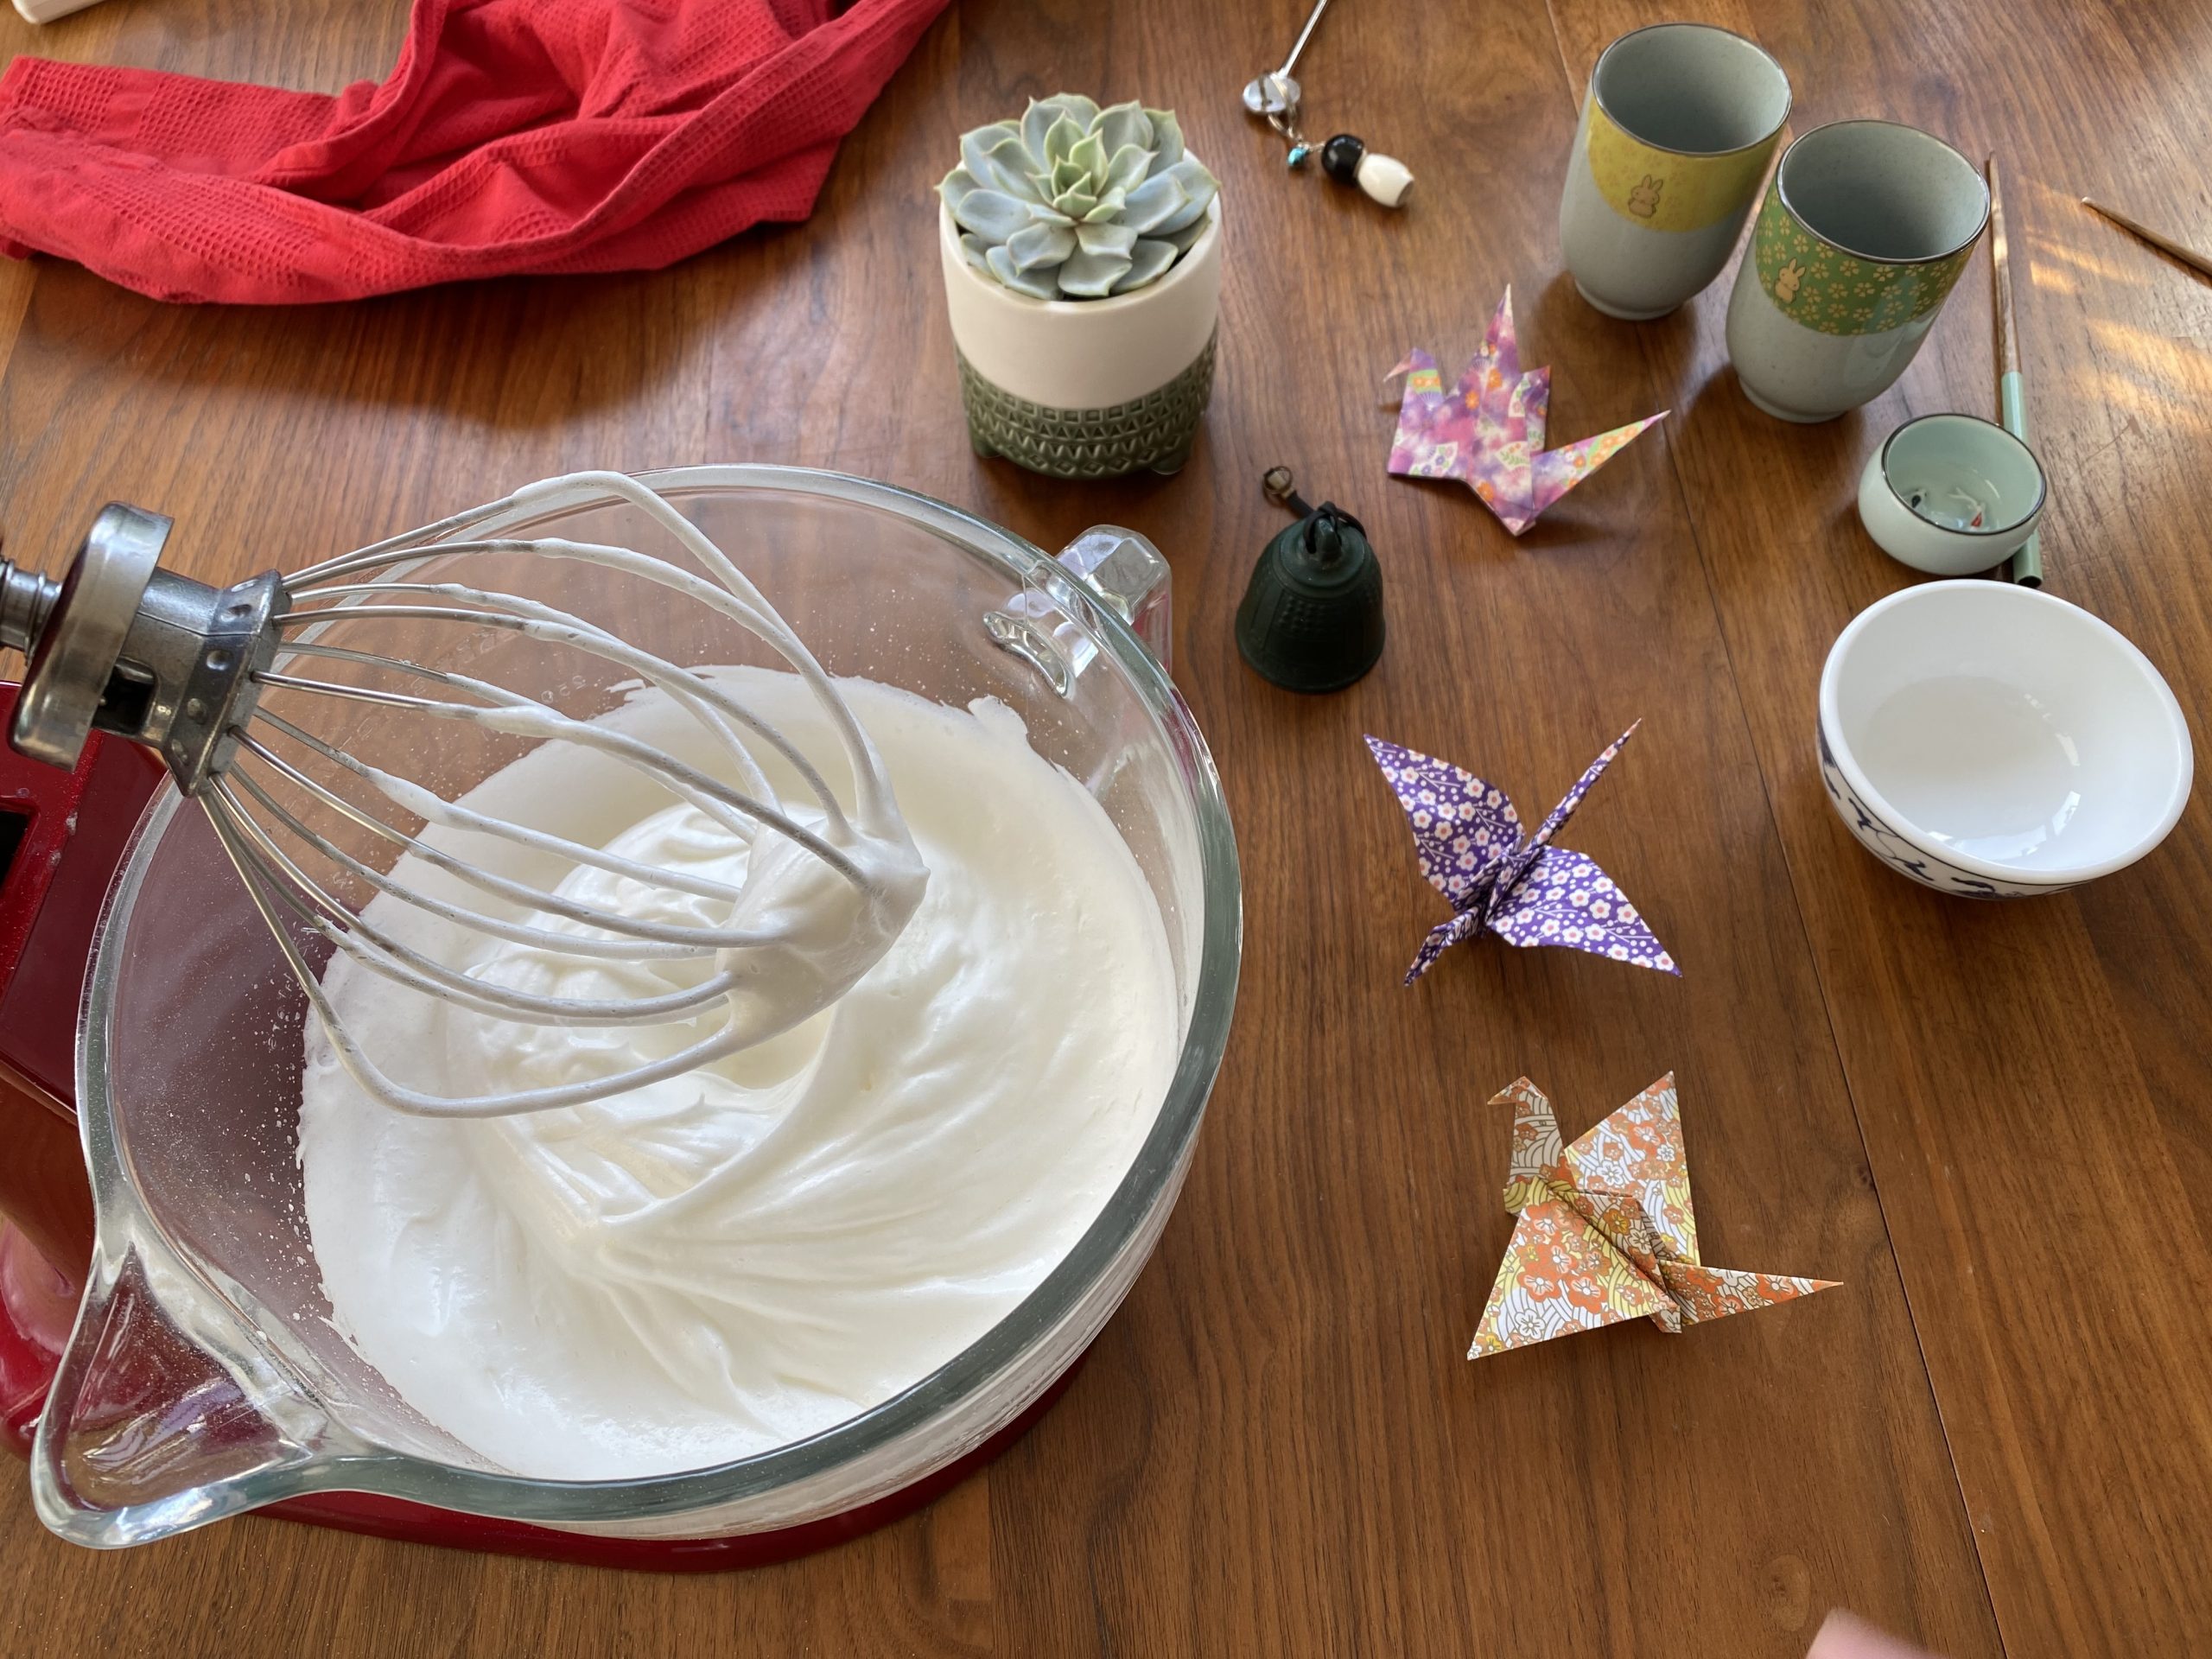
9. Next, you move on to making the meringue mixture. Place the egg whites into a separate grease-free mixing bowl and mix at low speed until they are broken up and frothy.


10. Add cream of tartar and vanilla essence and increase mixing speed to medium. Beat until formation of soft peaks.
11. Gradually add sugar while increasing the mixing speed to high. Beat until formation of stiff peaks.
12. Turn the oven to 100ºC fan / 212ºF / Gas 1/4.
13. Gently fold 1/3 of the meringue mixture into the main mixture prepared earlier using a spatula. Patiently work them through in a figure of “8”.

14. Add the next 1/3 and repeat the above step. Repeat the same for the final 1/3 of the meringue mixture.
15. Pour the combined mixture into the lined baking tin. Gently tap the tin on the kitchen countertop a couple of times to burst any excess air bubble in the batter.

16. Next, you need to prepare the water bath to place your baking tin into. Place a tea towel onto the bottom of the 10 x 3 inch baking tin and pour in freshly boiled water to about an inch tall. Ensure the tea towel is flat and fully submerged in the water.
17. Place the baking tin with cake mixture into the water bath. Ensure that it is flat and stable.
18. Using a double sided oven glove, place the baking tins into the middle shelf of the pre-heated oven.

19. After 20 mins, increase the temperature to 120ºC for 20 mins. Returning the temperature to 100ºC thereafter and bake for another 40 mins. Your cake should have risen gradually and browning over the period.
20. Turn off the oven temperature and leave the cake in there to gradually cool for another 30 mins.

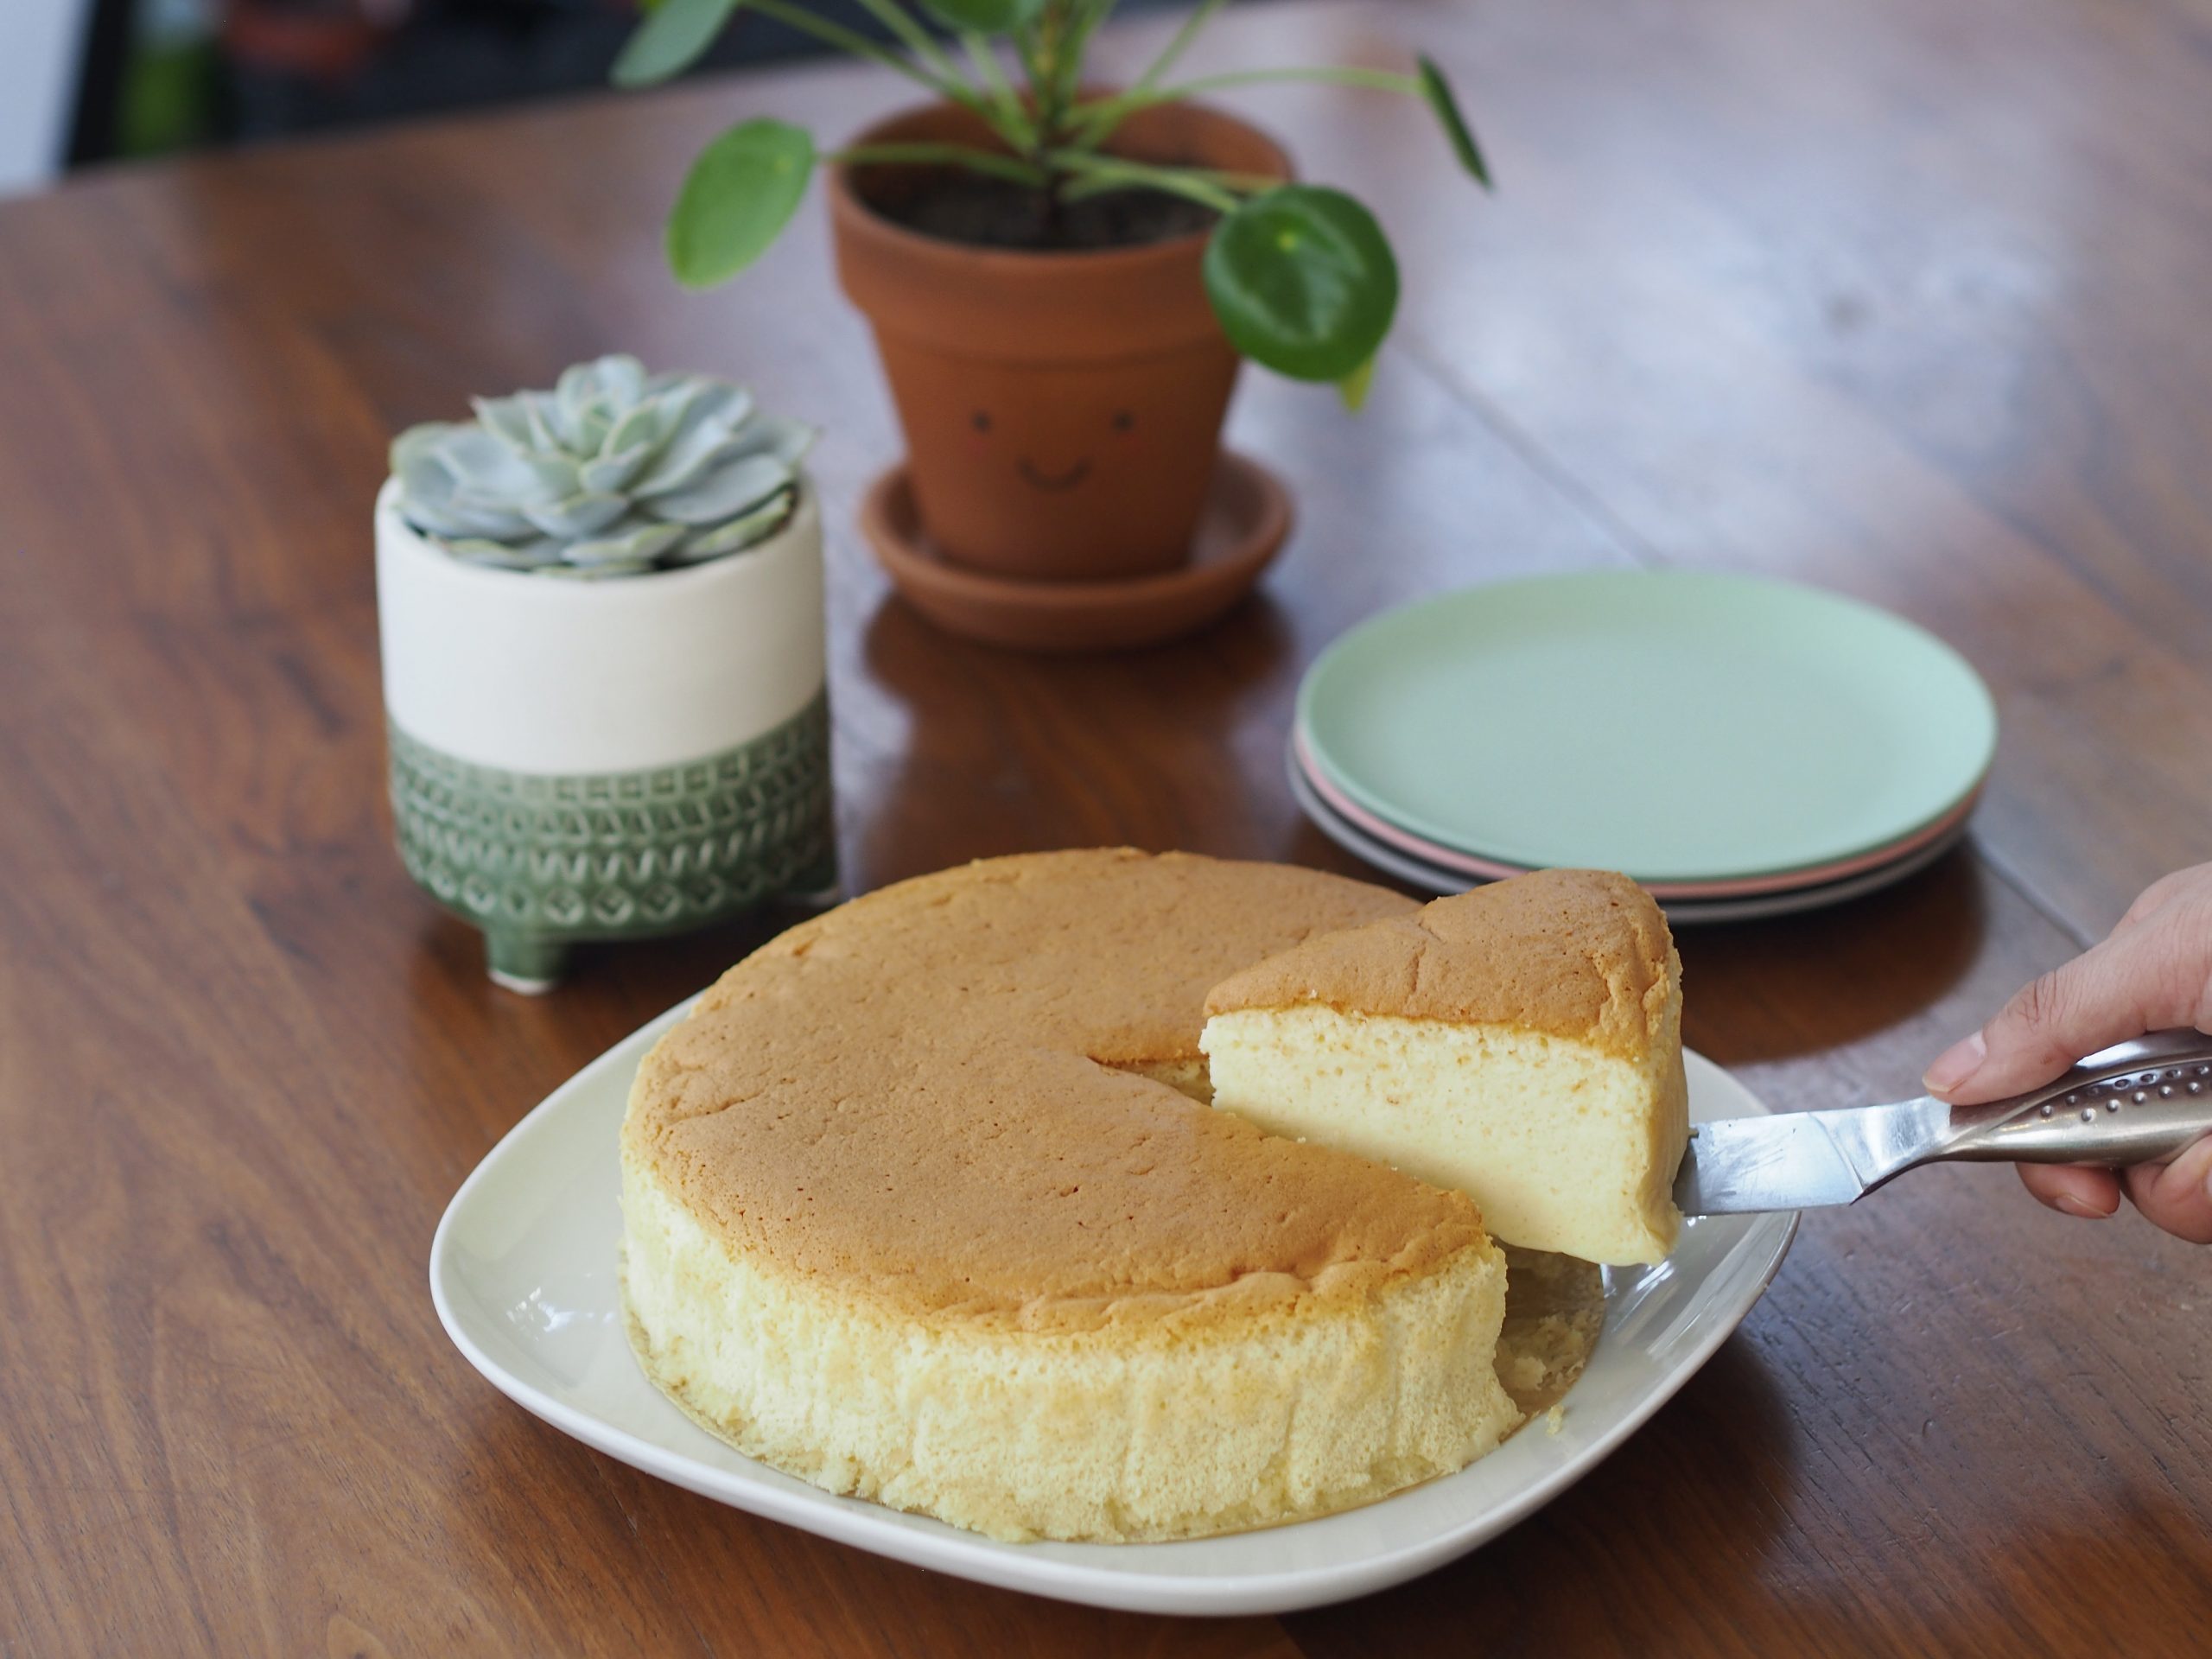
21. To serve, tip the cake over onto your hand and tip it back onto a serving plate. Remove baking paper completely from the cake.
Enjoy!
Notes and tips
How to avoid cracked top?
It is all in the oven temperature and some ovens are better than others. If your cake cracked at the top, it is most likely because the oven is too hot causing the cake to bake too quickly. Invest in an internal oven thermometer to get the right oven temperature or simply adjust down the temperature by a notch to tune the recipe to your oven’s temperament.
How to avoid a sinking cake?
Again, it is all in the oven temperature. If your cake sank after you removed it from the oven, it is most likely because it hasn’t been optimally cooked. Try leaving the cake to bake for another 5 to 10 mins before turning it off to cool. As per note above, you should also try turning up the temperature by a notch as your oven is probably cooler than prescribed temperature required.

Sweeter or creamier?
I have found that there are up to 10% tolerance on the amount of cream cheese and sugar in the recipe. Feel free to experiment to suit your tastebuds.
